How to Remove Pedals from a Kids Bike
Here are our clear instructions, with photos, for how to remove pedals from a kids' bike. We recommend that kids learn to ride a bike without pedals, or simply start their journey of learning to ride on a balance bike when they are young. Learning to ride without pedals means the kids learn the all important skill of balance without having to worry about pedals. And then the next important skill of braking can be learnt, still without pedals, and using the handbrake. When pedals are introduced, or re-introduced for the kids' who simpy took them off their bikes, now all they have to learn is pedalling. They'll even have a fairly good handle on steering (excuse the pun). What does all this mean? More fun and more confidence for the kids!


What you will need:
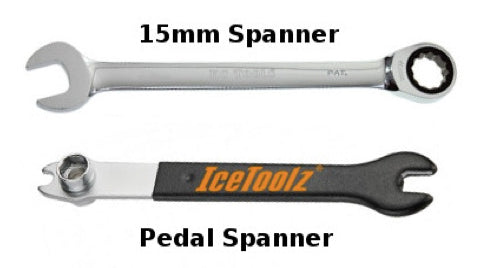
15mm spanner or 15mm pedal spanner
Step 1: Remove the left-side pedal:
Place the open end of the spanner onto the square, flat surface between the pedal and pedal arm (the crank). Turn in a clockwise direction - reverse to pedalling direction, like as if you were applying the brakes. This direction applies to both pedals (in case you are wondering, pedals use a reverse thread to normal)